- Download Zstack from zstack.io
- Burn ISO to USB using Rufus
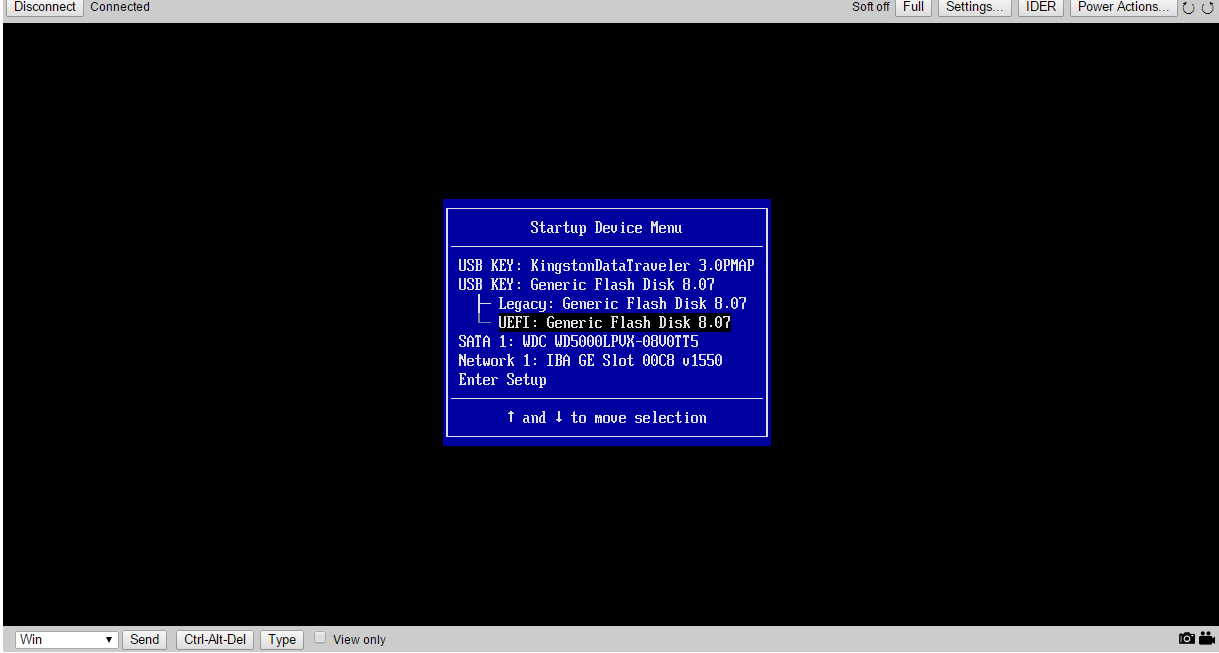
- Boot the disk (Using UEFI whenever possible)
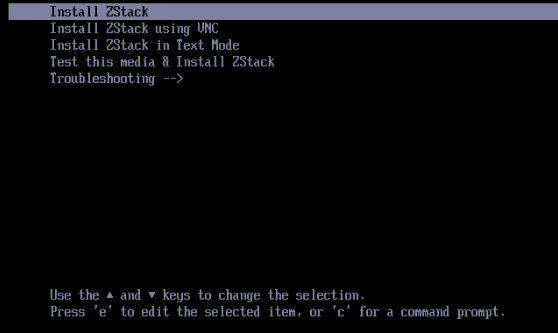
- Select “Install Zstack”
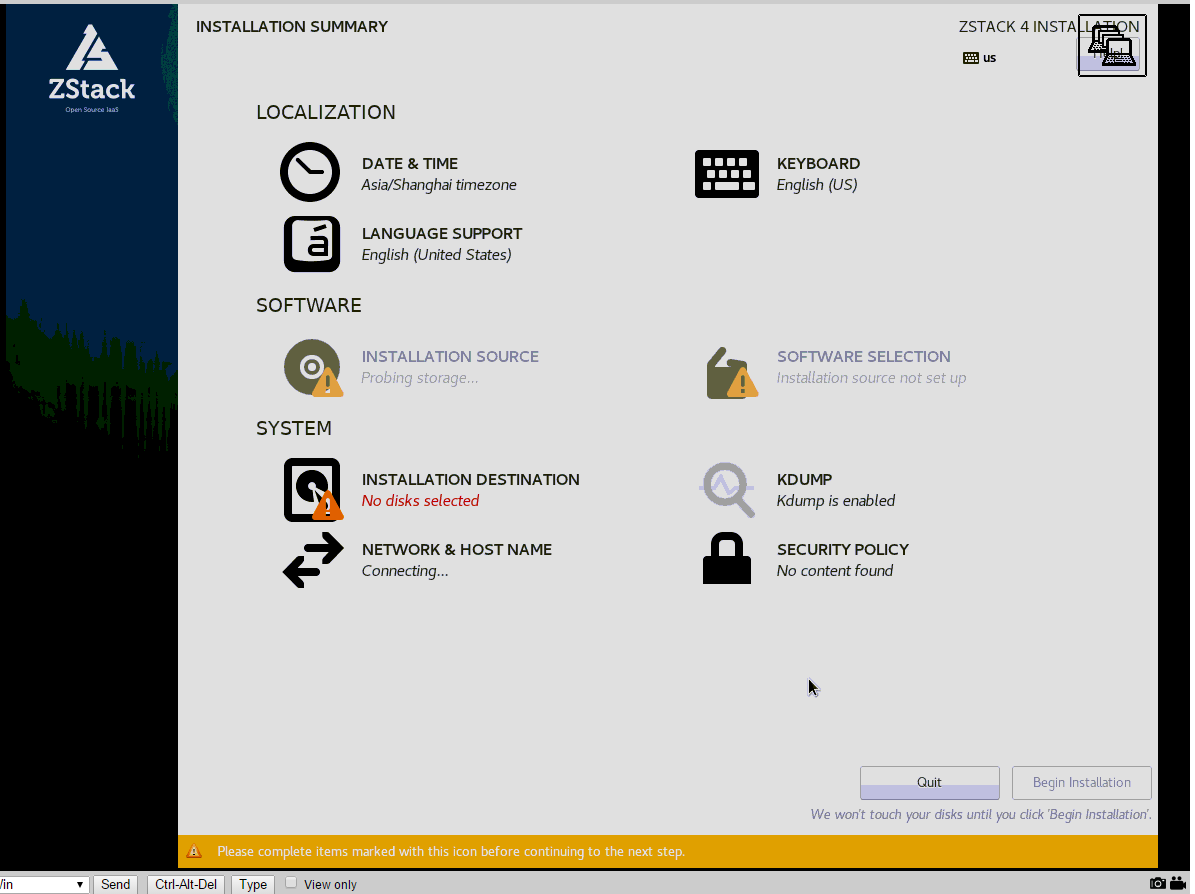
5.Select correct Time Zone, Keyboard layout, and other settings, etc.
- Click into “Software Selection” and select the right edition to install
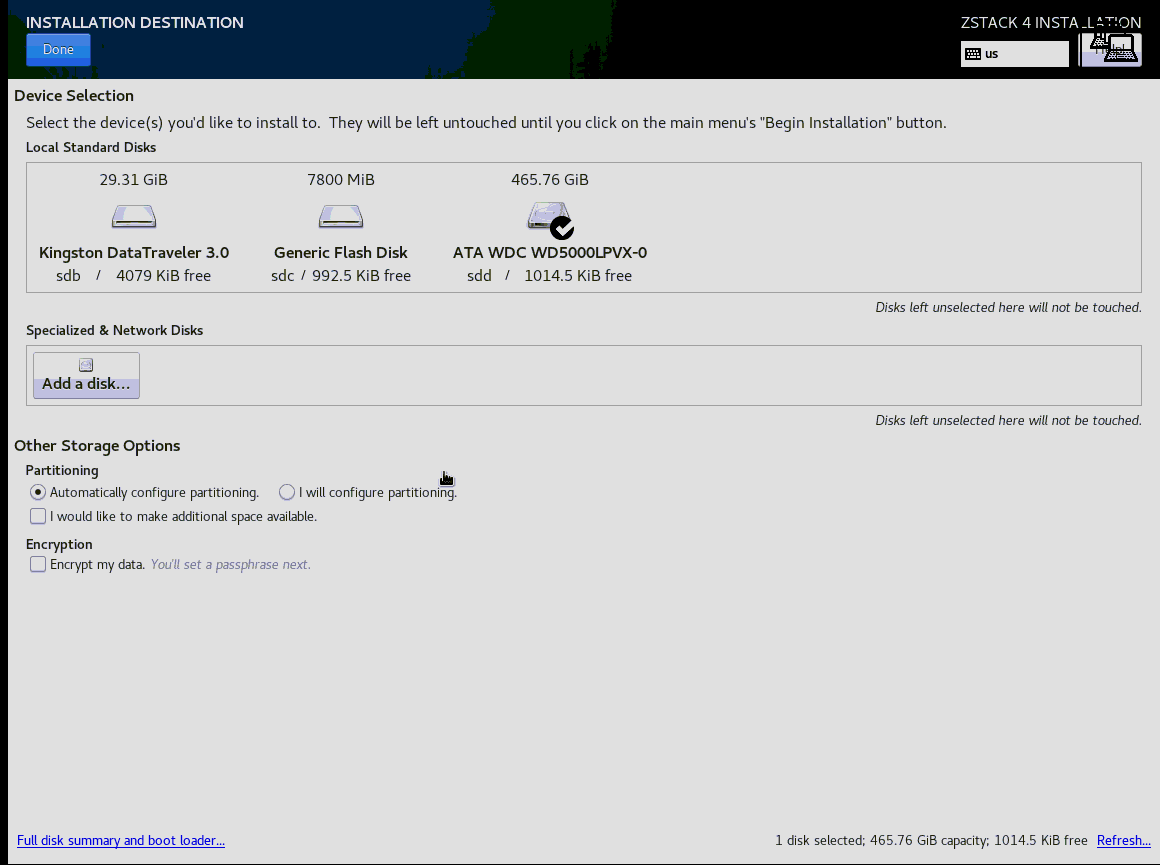
- At “Installation Destination”, select the disk you would like ZStack to be installed on.
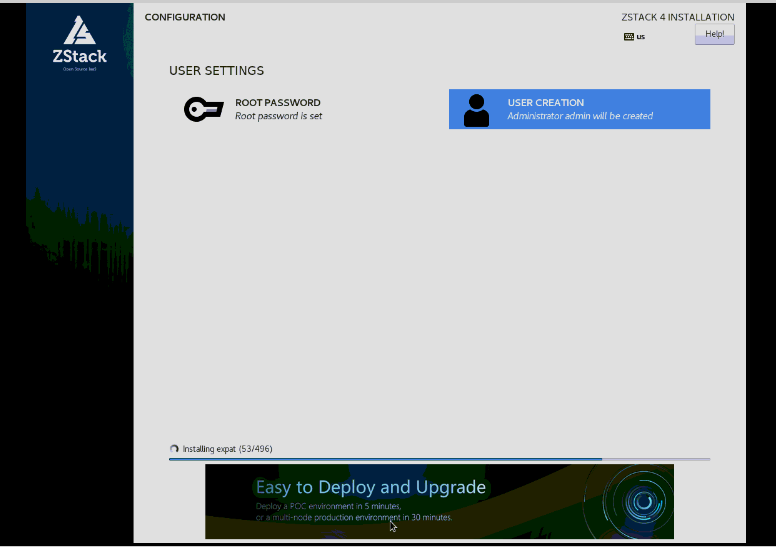
- During Installation, you may configure root account password, and create another account
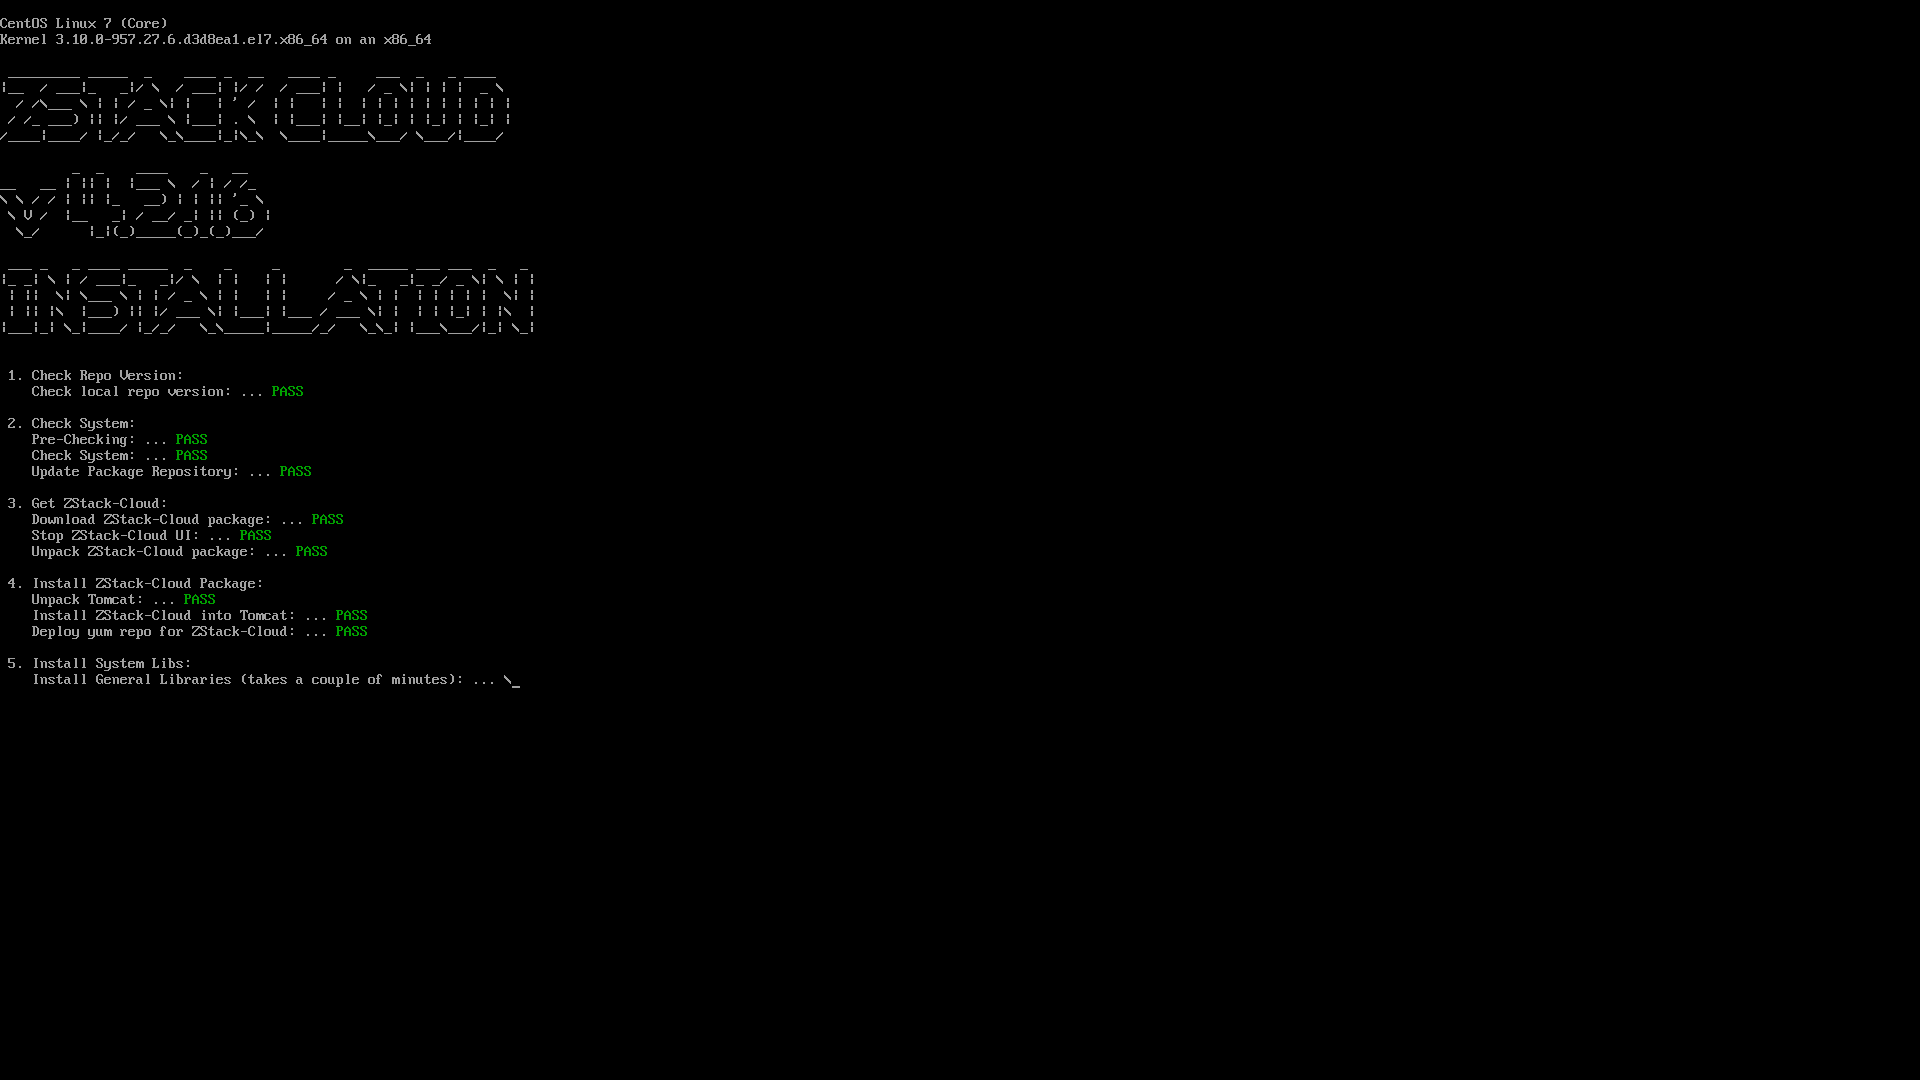
- Remove installation disk and allows it to reboot after installation
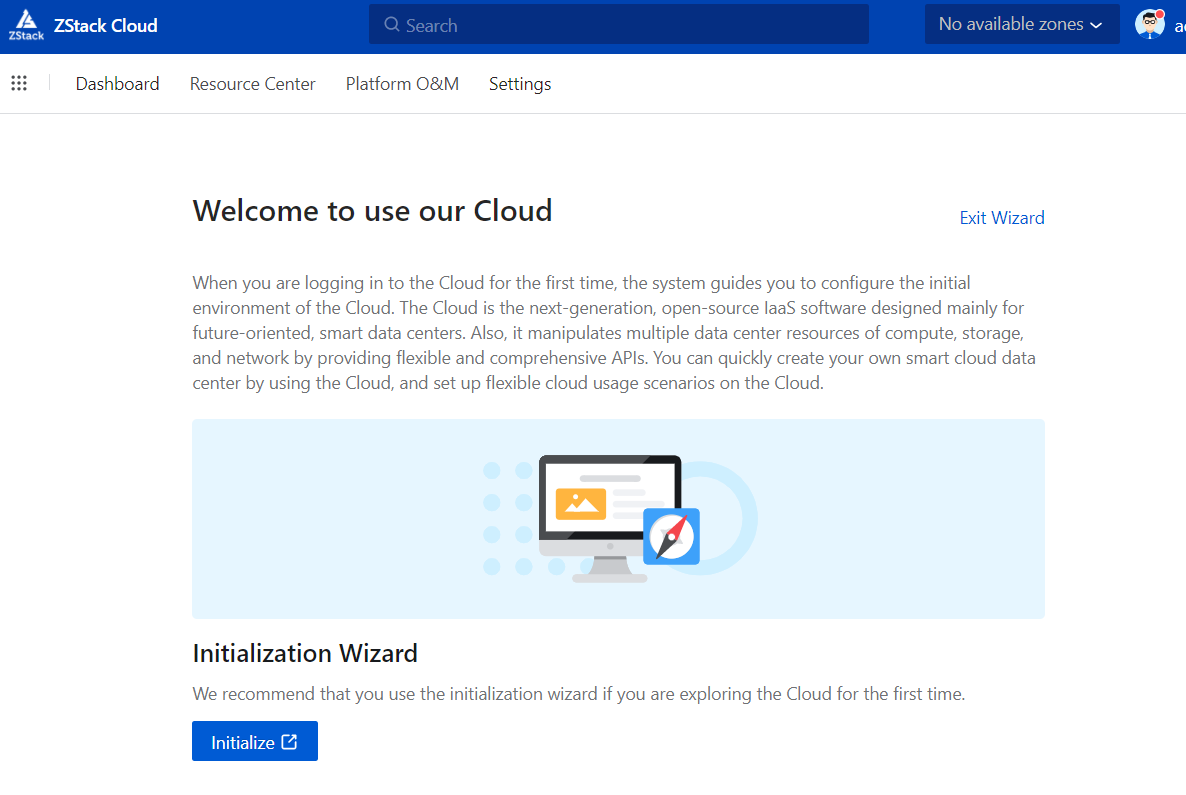
- After installation, go to http://(ip-address):5000 and login with “admin” & “password”
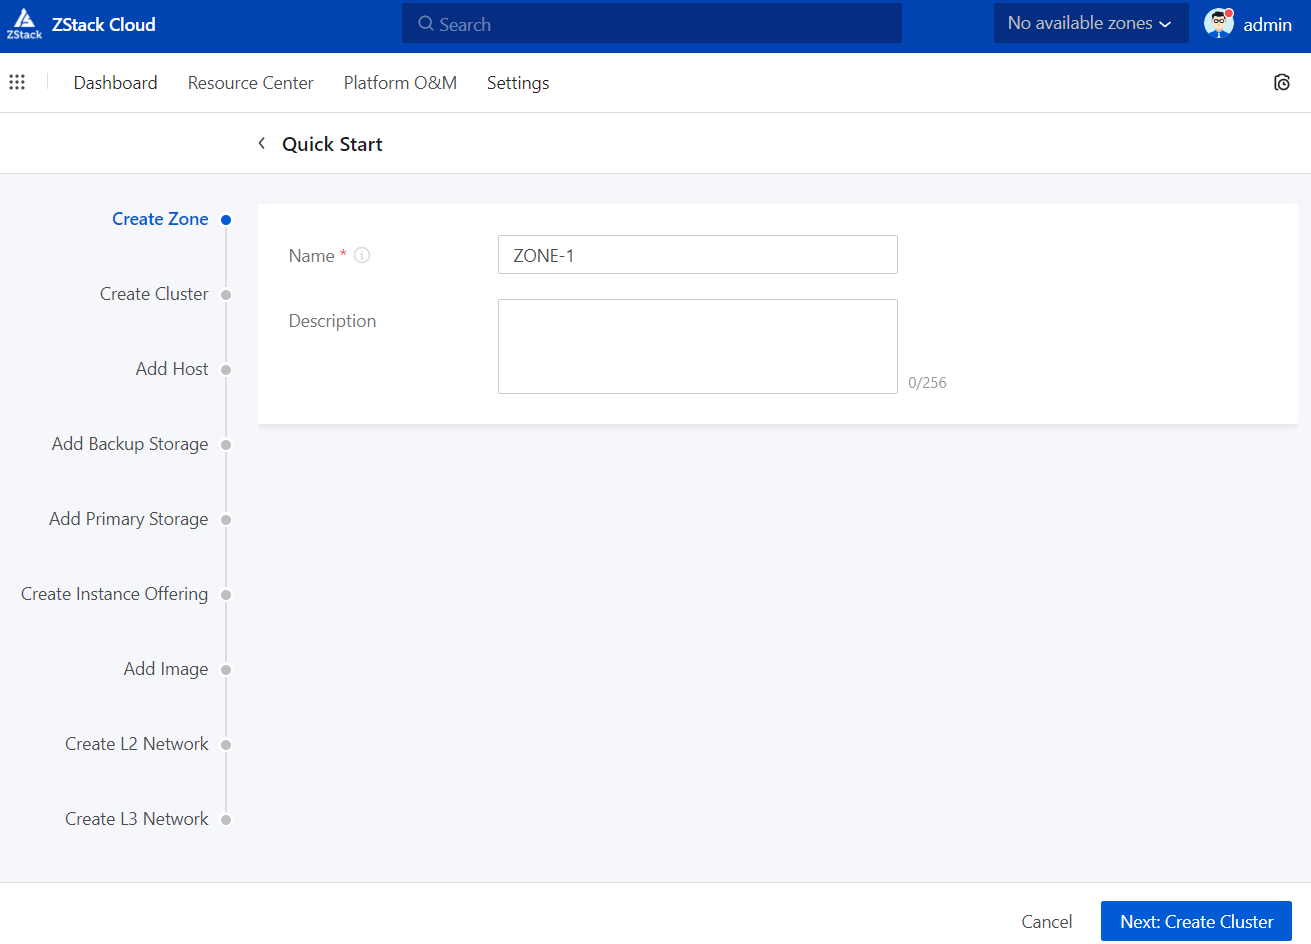
11.Initialize with Wizard
- Perform installation as per instructions


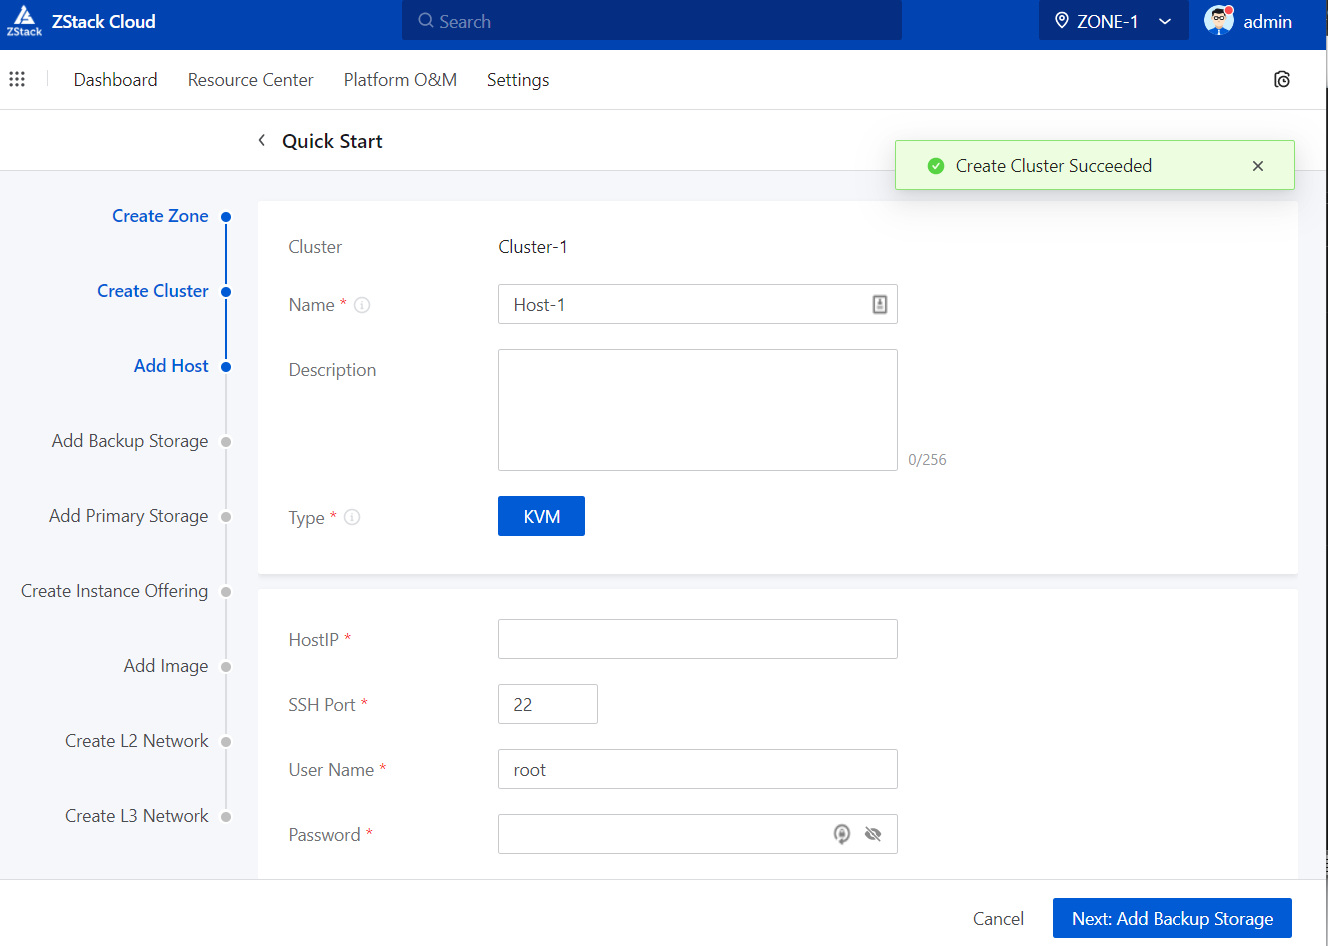
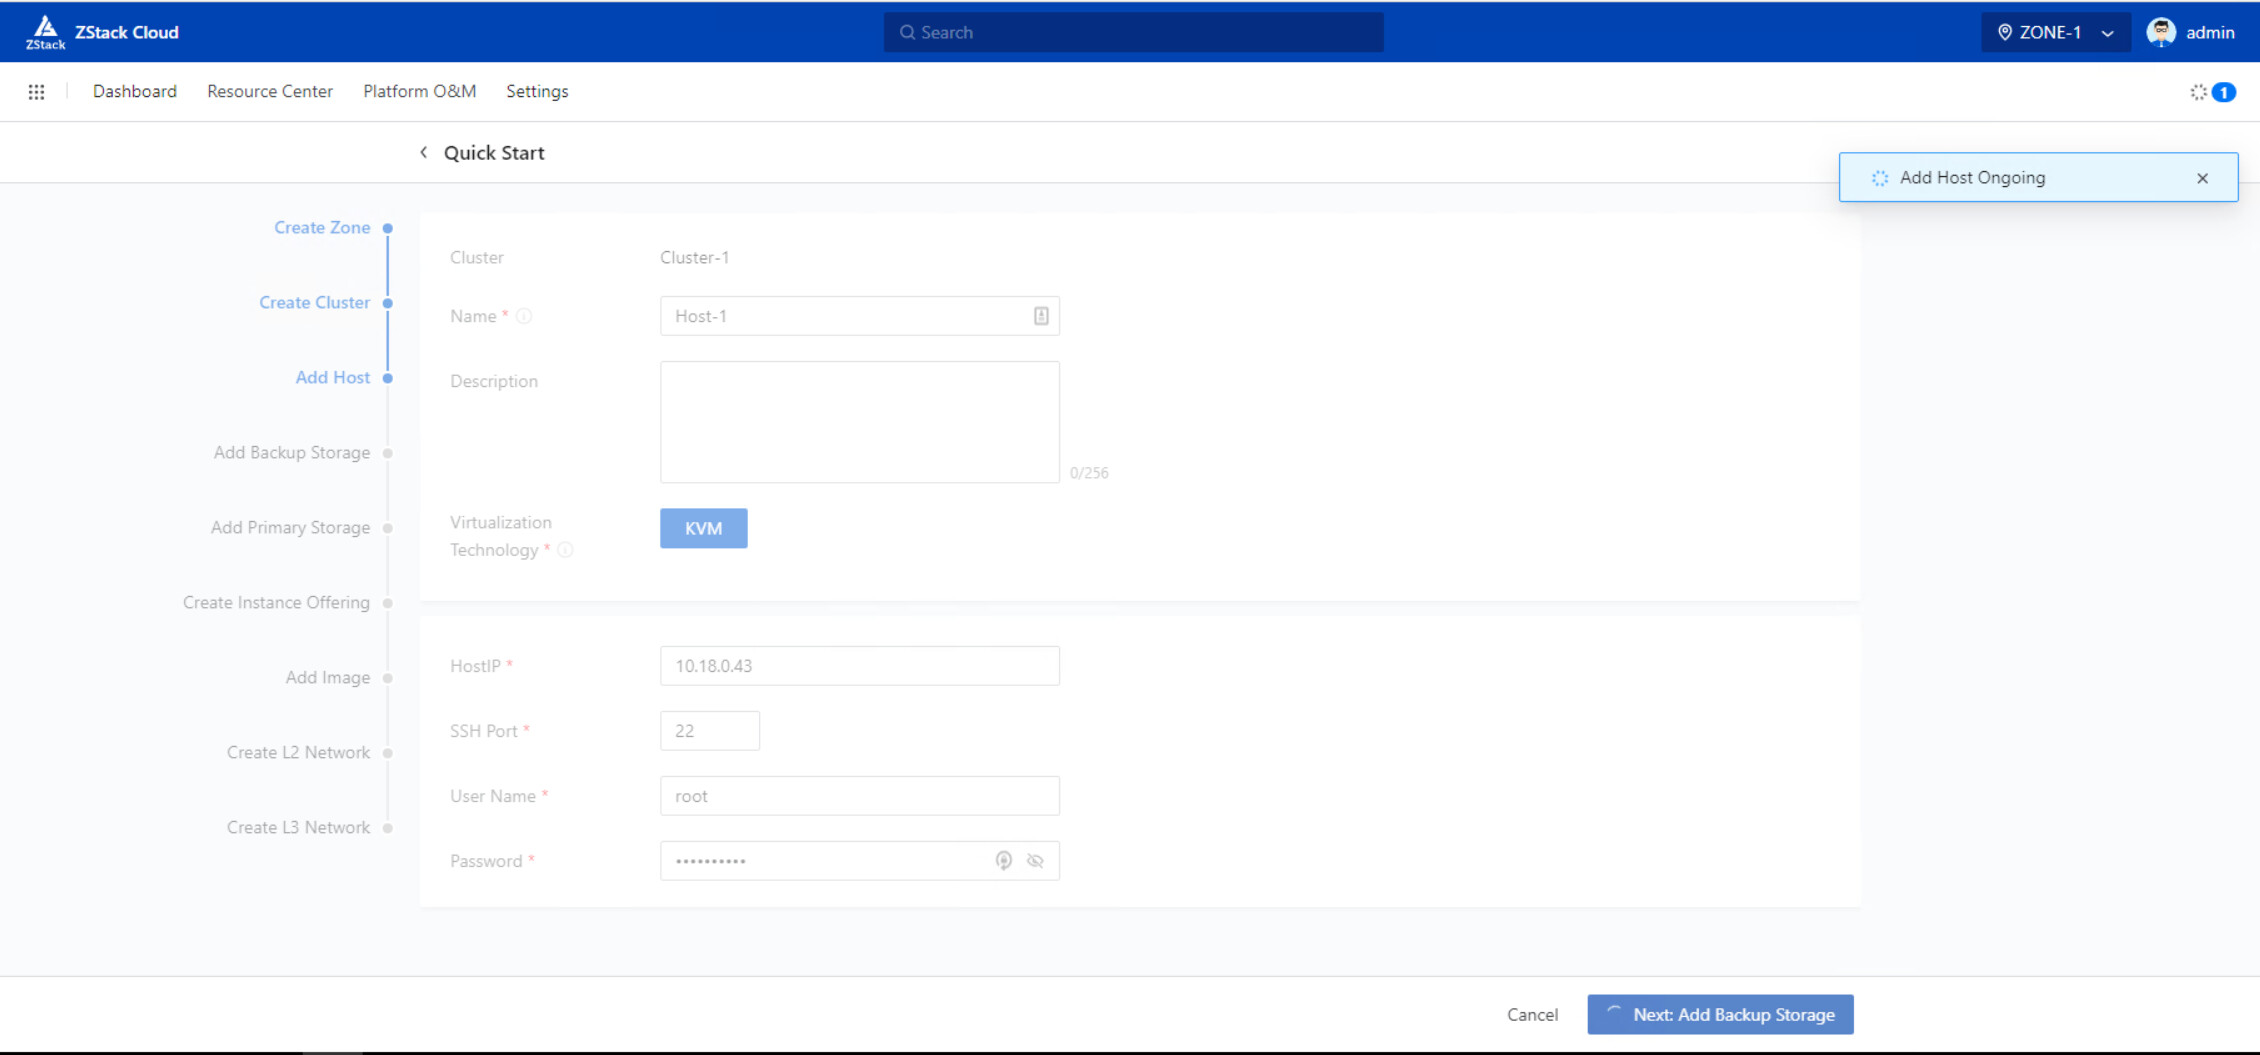
- Continue to add host (Compute Node) that is installed at the other host
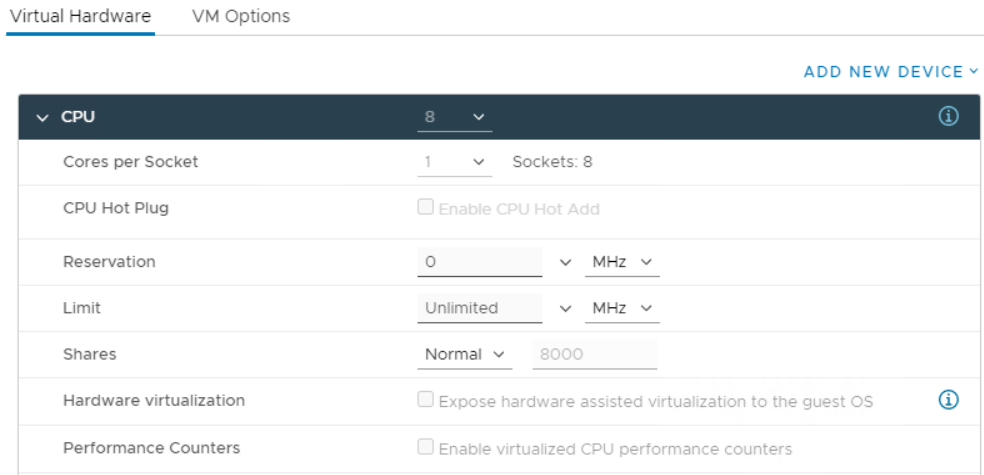
*Remember to enable this “Hardware virtualization” if you are installing Compute Node at Virtualized test lab.
- To create Primary / Backup Storage
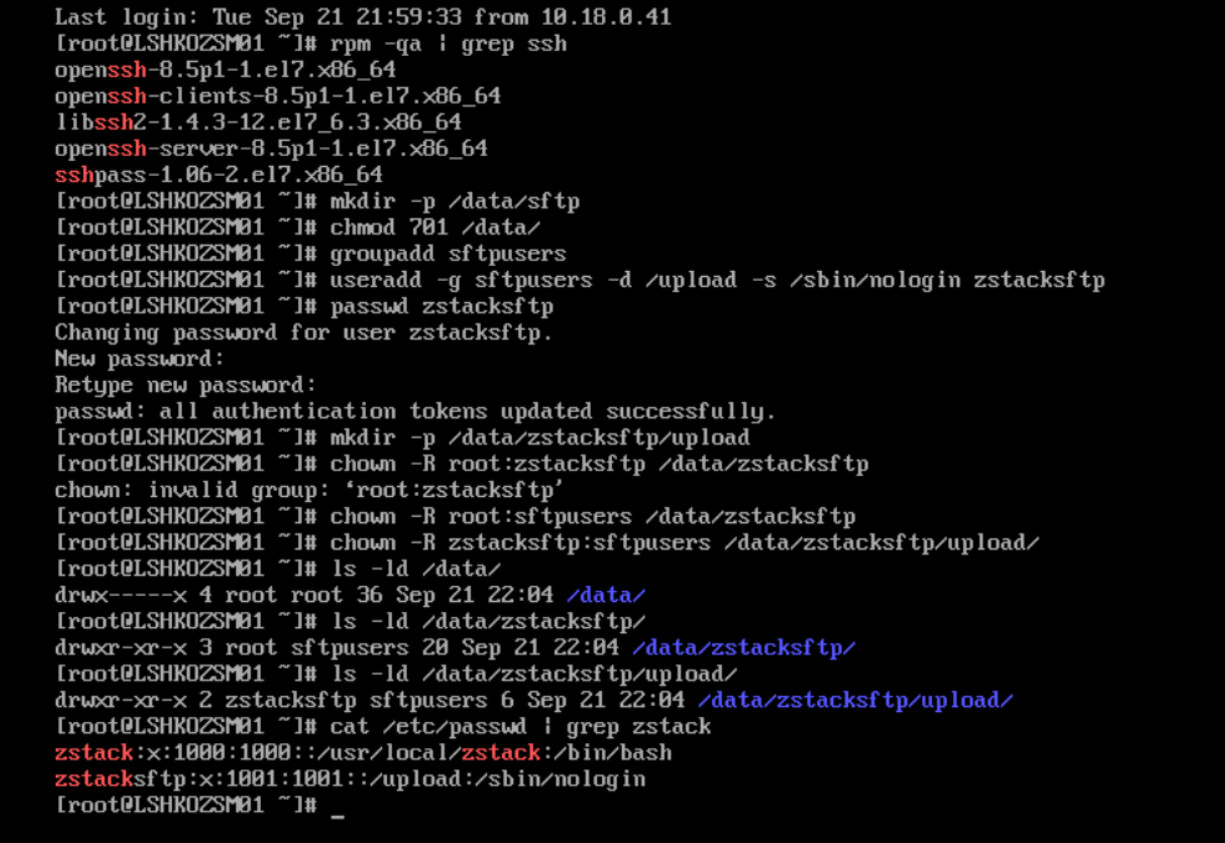
*For Backup Storage, CEPH / SFTP is required, below is the example of creating SFTP: