-
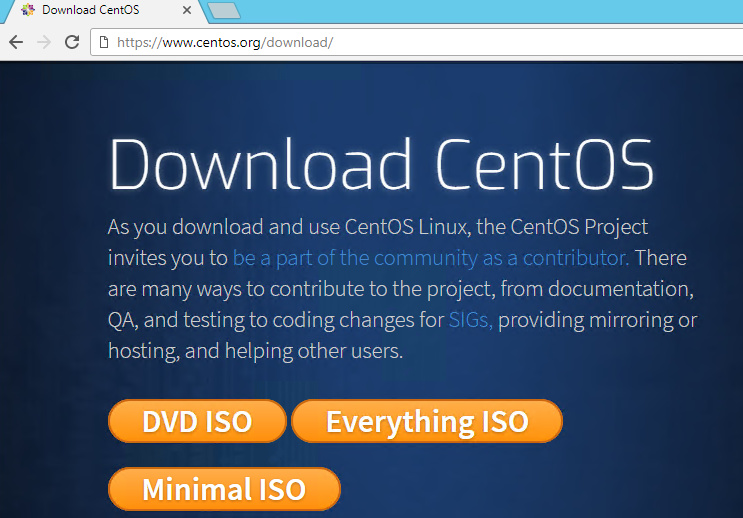
先到 Download 下載所需鏡像,建議使用 minimal,因配置會最快速。
-
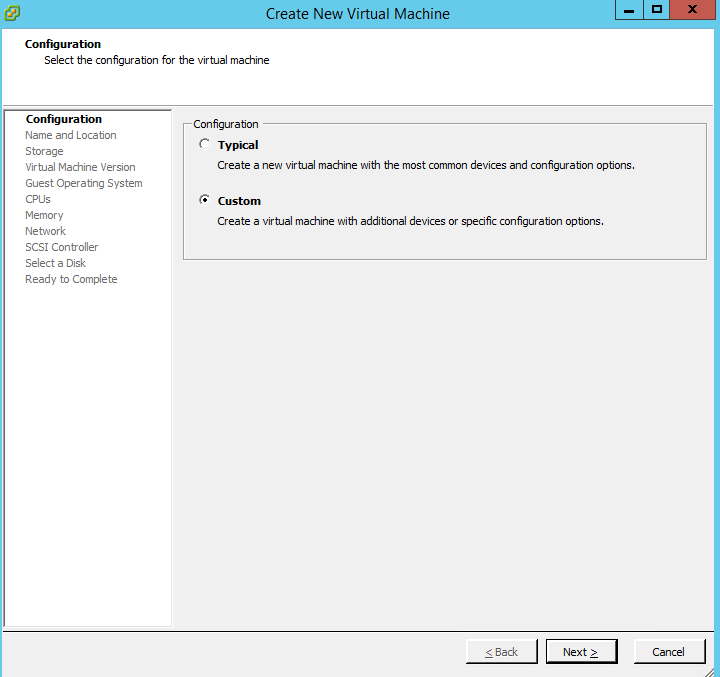
使用鏡像檔啟動電腦 (此處使用VMWare Vsphere 及 ESXi 作示範) –
- Create New Virtual Machine. Choose Custom
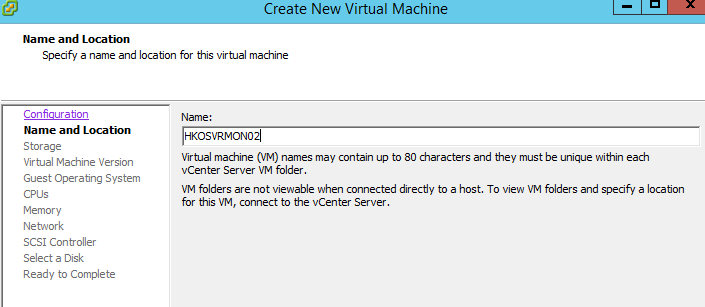
- Enter preferred name.
- Choose preferred data store for VM storage.
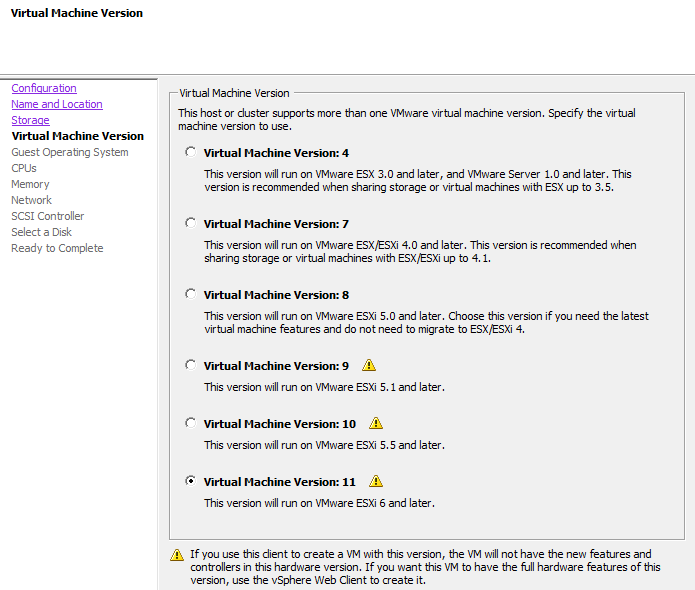
- Choose any VM hardware version supported by your ESXi (Recommend version 9 or higher for CentOS 7).
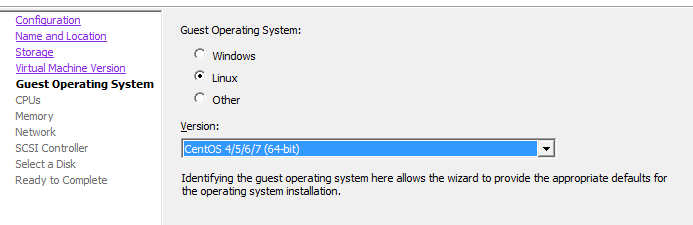
- Choose Linux, then "CentOS 4/5/6/7 (64-bit).
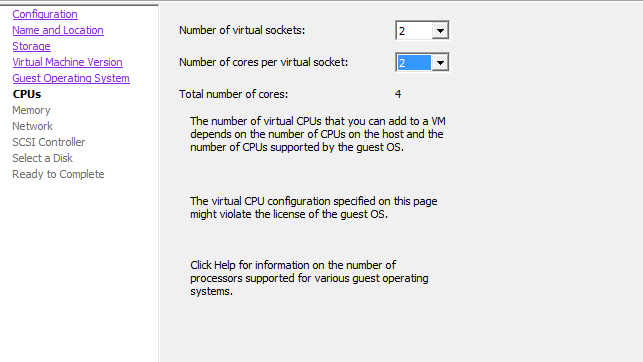
- Choose vCPU number (recommend to have at least 2 cores).
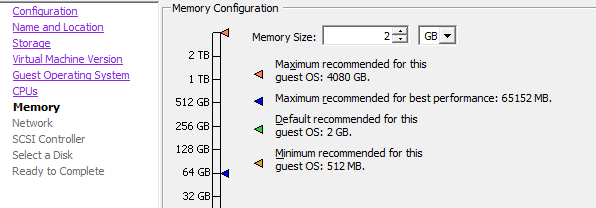
- Choose Memory (recommend: 2 GB or more).
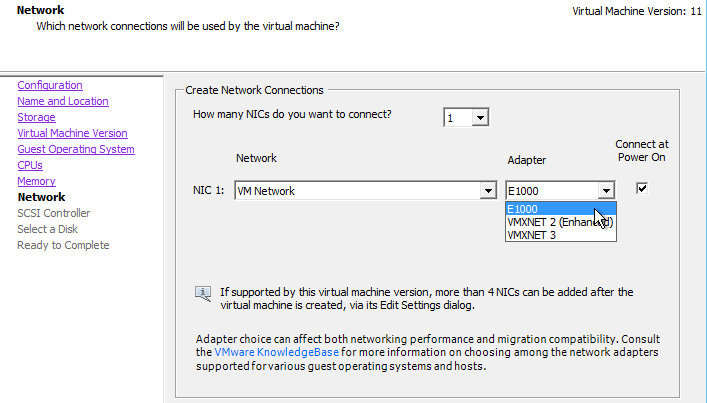
- Choose NIC (recommend E1000). Although VMXNET 3 is better, no driver comes with CentOS minimal
- Use default option for SCSI controller.
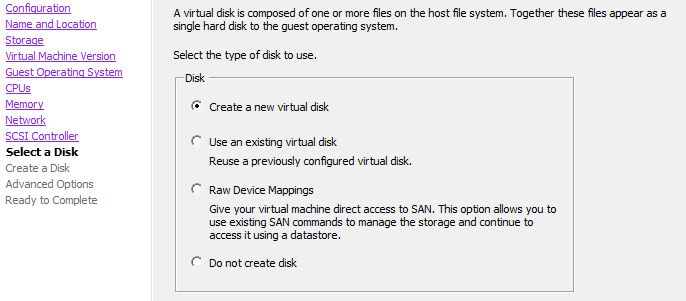
- Use any of the current vDIsk or create new vDisk for the storage.
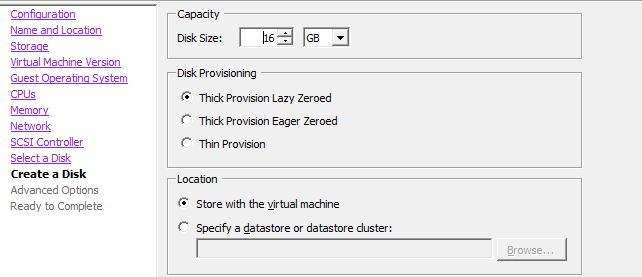
- (Creation of new vDisk is selected for this example.) Continue with Disk Size and Data Store selection for this vDIsk.
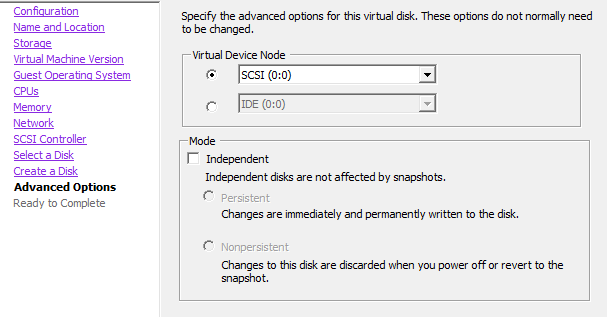
- Leave it as the default option.
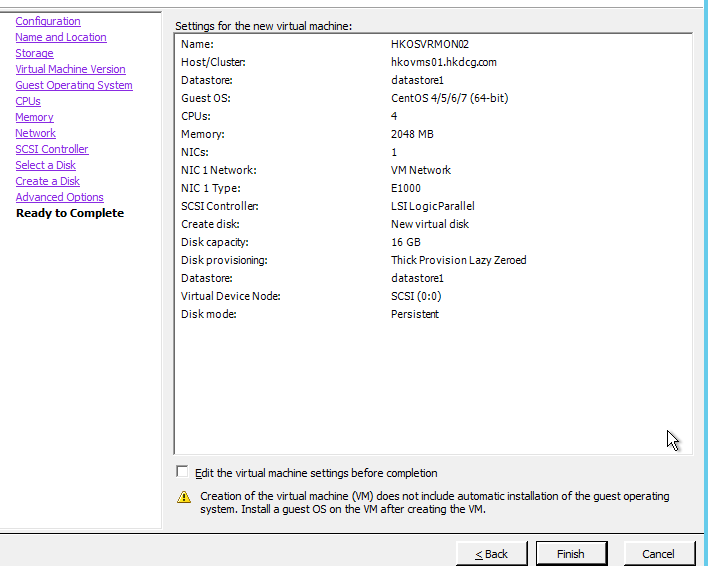
- Ready to Create VM!
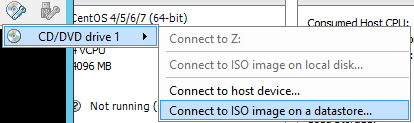
- Mount the right ISO for to boot the VM.


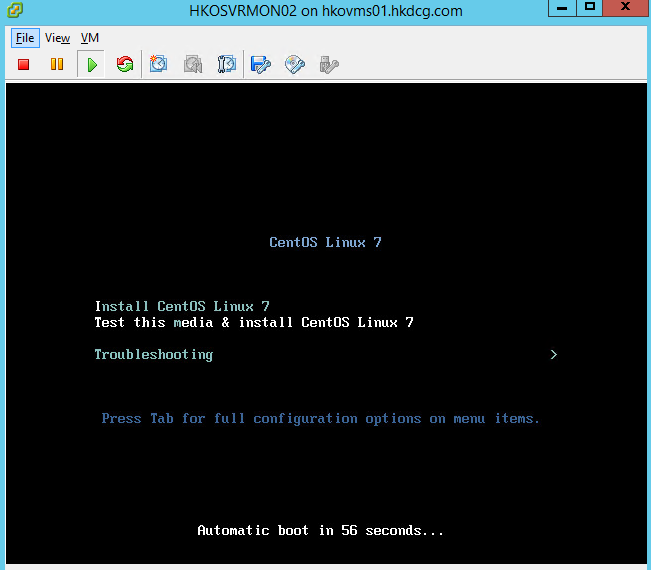
- Choose Install CentOS Linux 7 (or you can also check the installation media to verify the ISO).
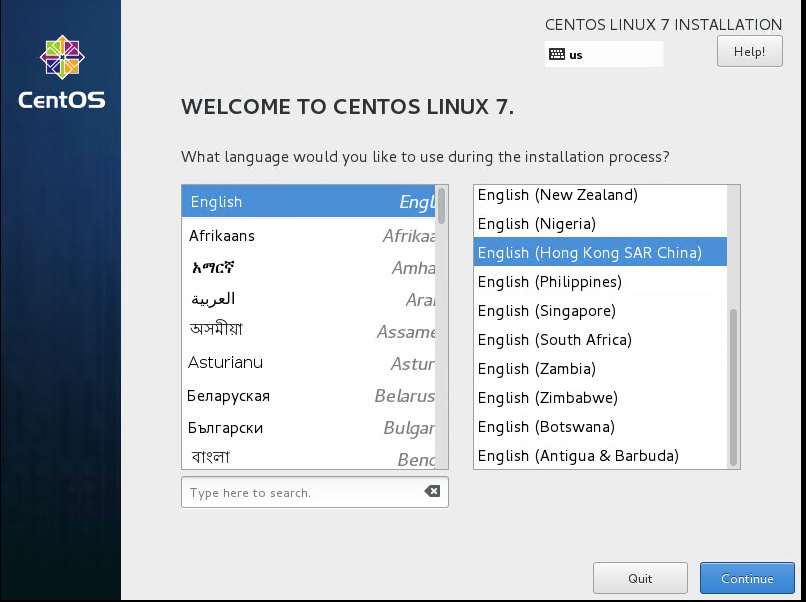
- Choose preferred language.
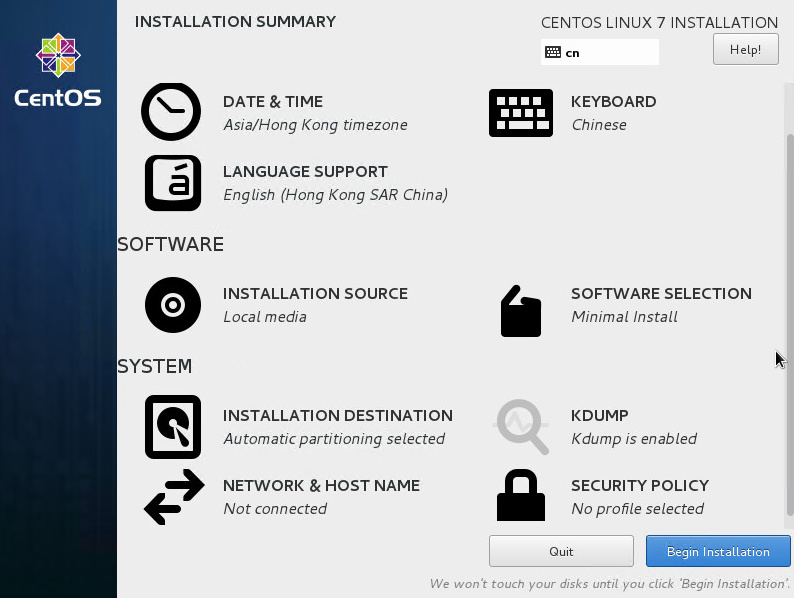
- Feel free to select any option here that fits your needs!
- Choose the disk you want to install CentOS on - be aware re-partition may be needed and your DATA will be gone!
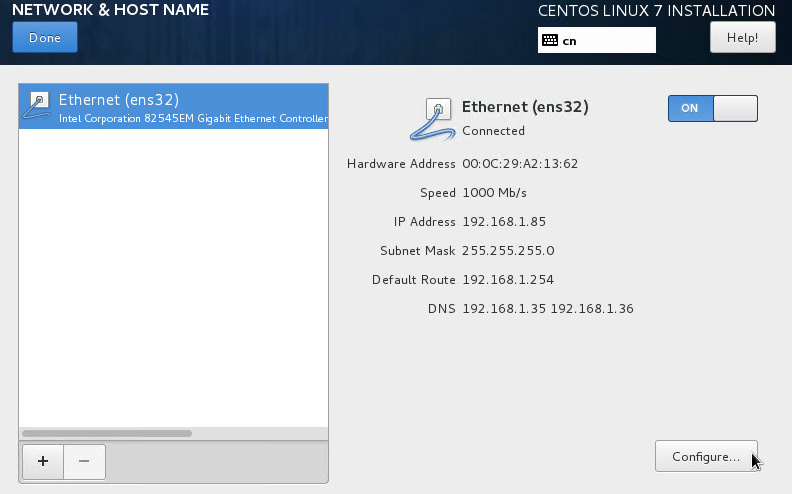
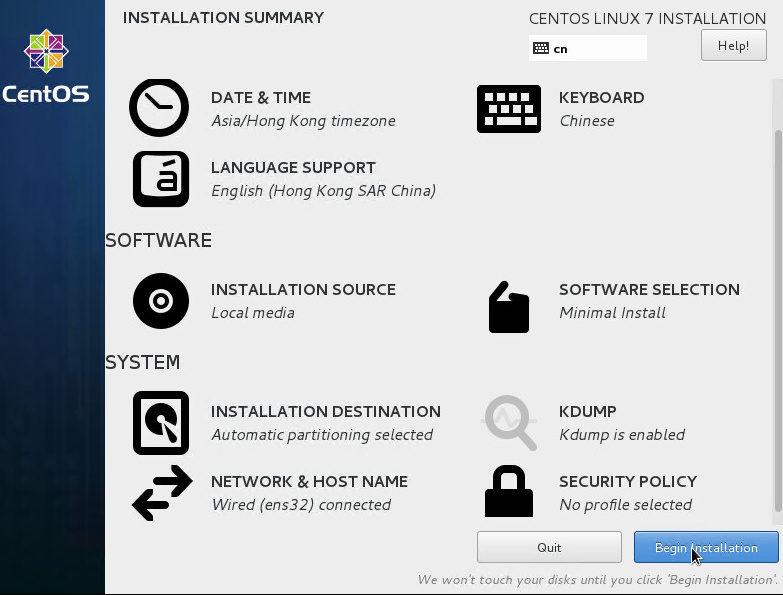
- Configure Network settings here if needed.
- Click Begin Installation when ready.
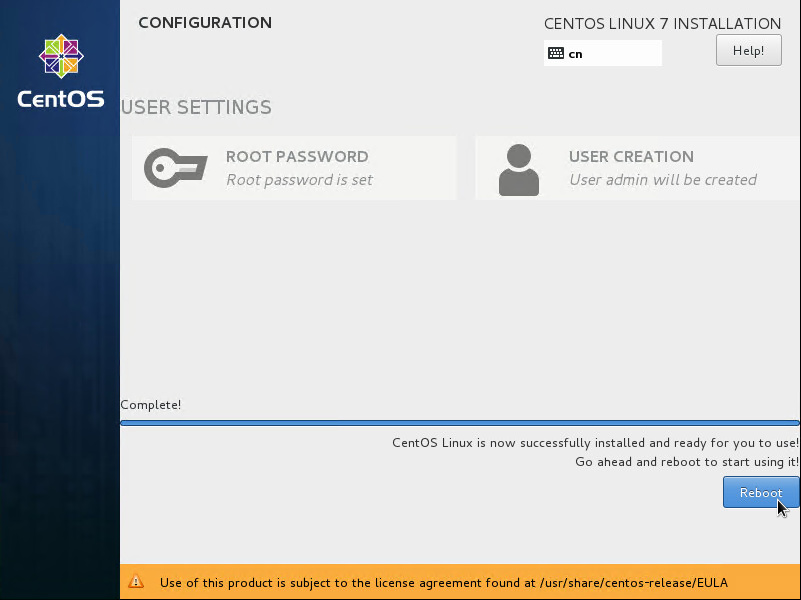
- Set root password and another user besides root during installation.
- Done! Reboot and start to play!